
INTRODUCTION
Sometimes it is easier to show a picture to a customer rather than only describe how to achieve a task. Using Markdown you can embed images to your responses by attaching your image to your ticket comment or referring to an article in your Help Centre or Web Portal.
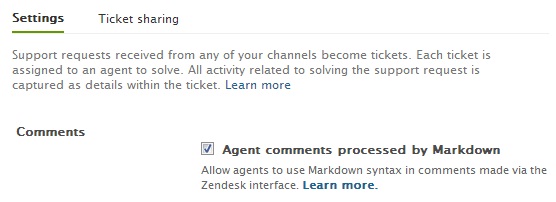
ENABLING MARKDOWN
Enable Markdown in your helpdesk under Admin>Settings>Tickets
USING TICKET ATTACHMENTS
In your ticket comment, upload your image as an attachment.

Now find your attachment's address. Right click the attached file and copy the link address. The options that you will see will vary depending on your browser.
 |
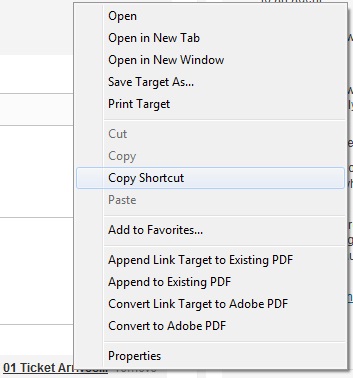 |
| Chrome | Internet Explorer |
You can now paste this address into a Markdown expression.

The Markdown is:
- An exclamation mark
- An open square bracket
- A close square bracket
- An open round bracket
- The image address, that you paste in
- A close round bracket
For example, it ,may look like:

PRIVATE ATTACHMENTS
For a more streamline experience, you will want to disable the 'Private Attachment' option in Admin>Settings>Ticket Settings. Enabling private attachments requires the user to be logged onto Zendesk to see the image. Logged out users will see an in-line icon representing the image.
USING FORUM ATTACHMENTS
You may have a Help Centre article that has a public attachment. You can use the same technique to reference the image in your ticket.
First find the article with the required image, right click the image to find its address, and then paste the address into the Markdown expression.

Comments
0 comments
Please sign in to leave a comment.